
Last updated September 22, 2026
Free on-site gate assessment - hinges, posts, and your LiftMaster or Nice gate operator checked before anything is quoted
The assessment is free and the quote is the invoice.
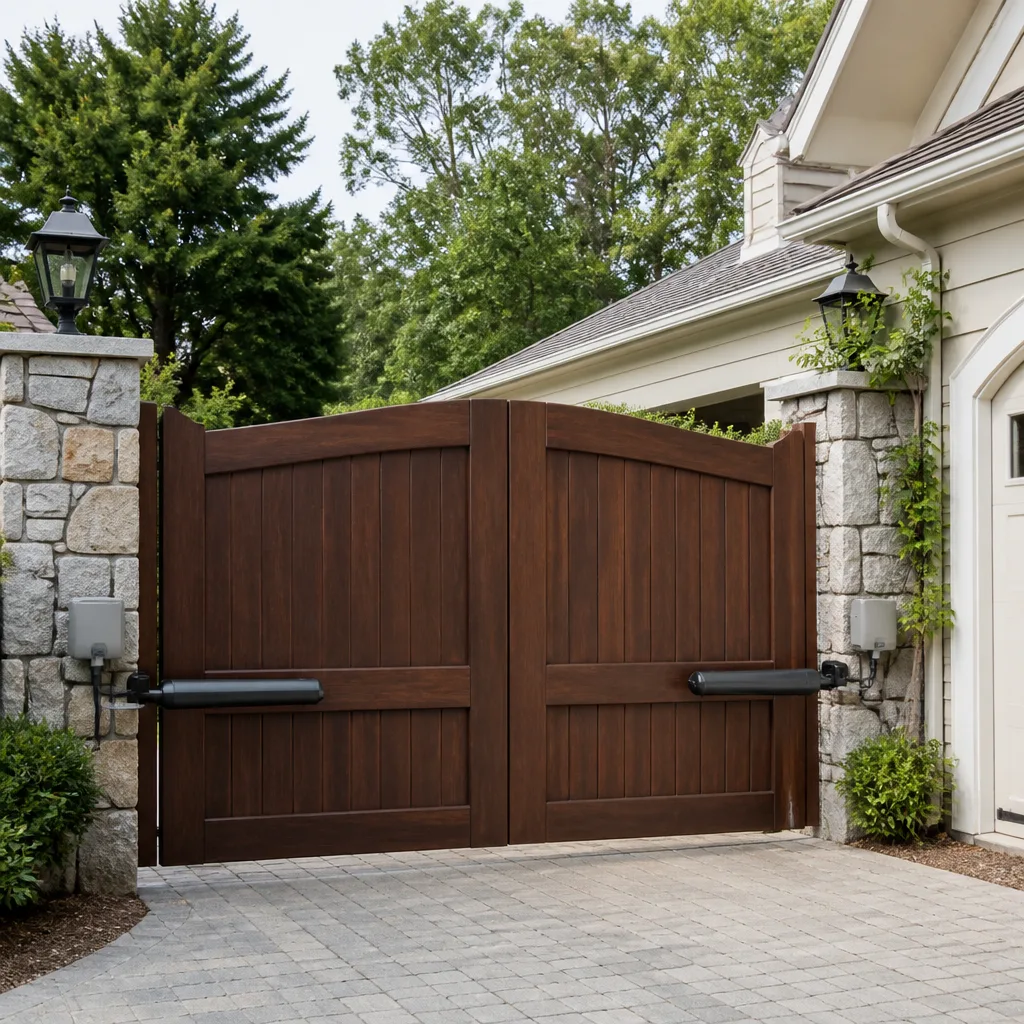
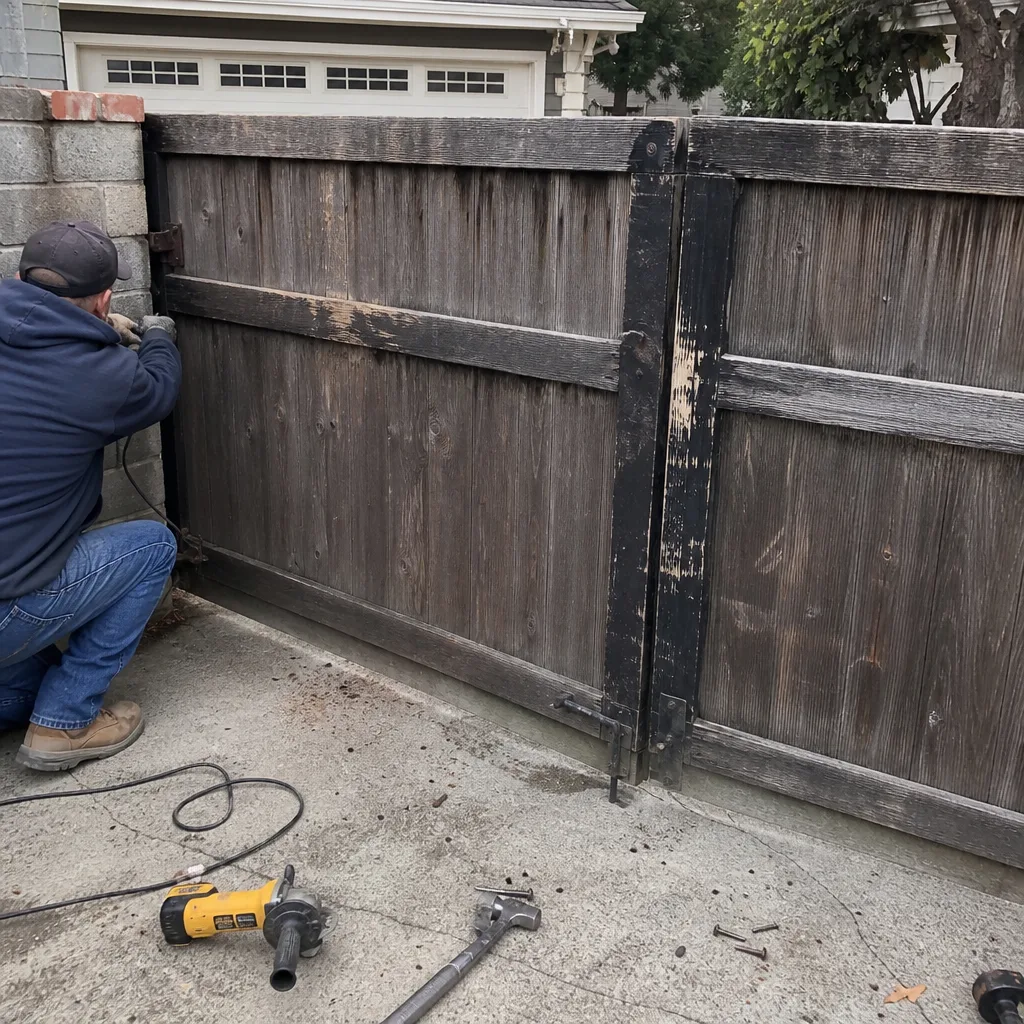 Before
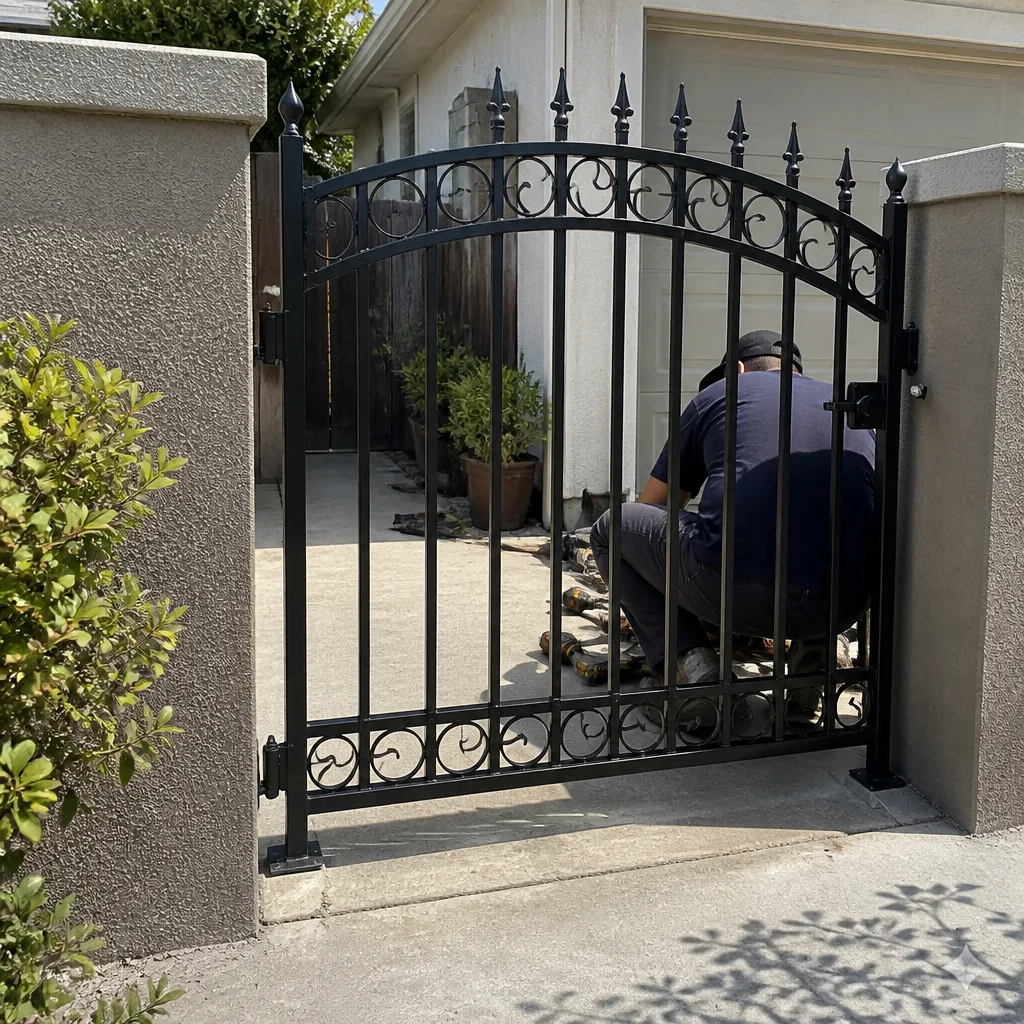 After
After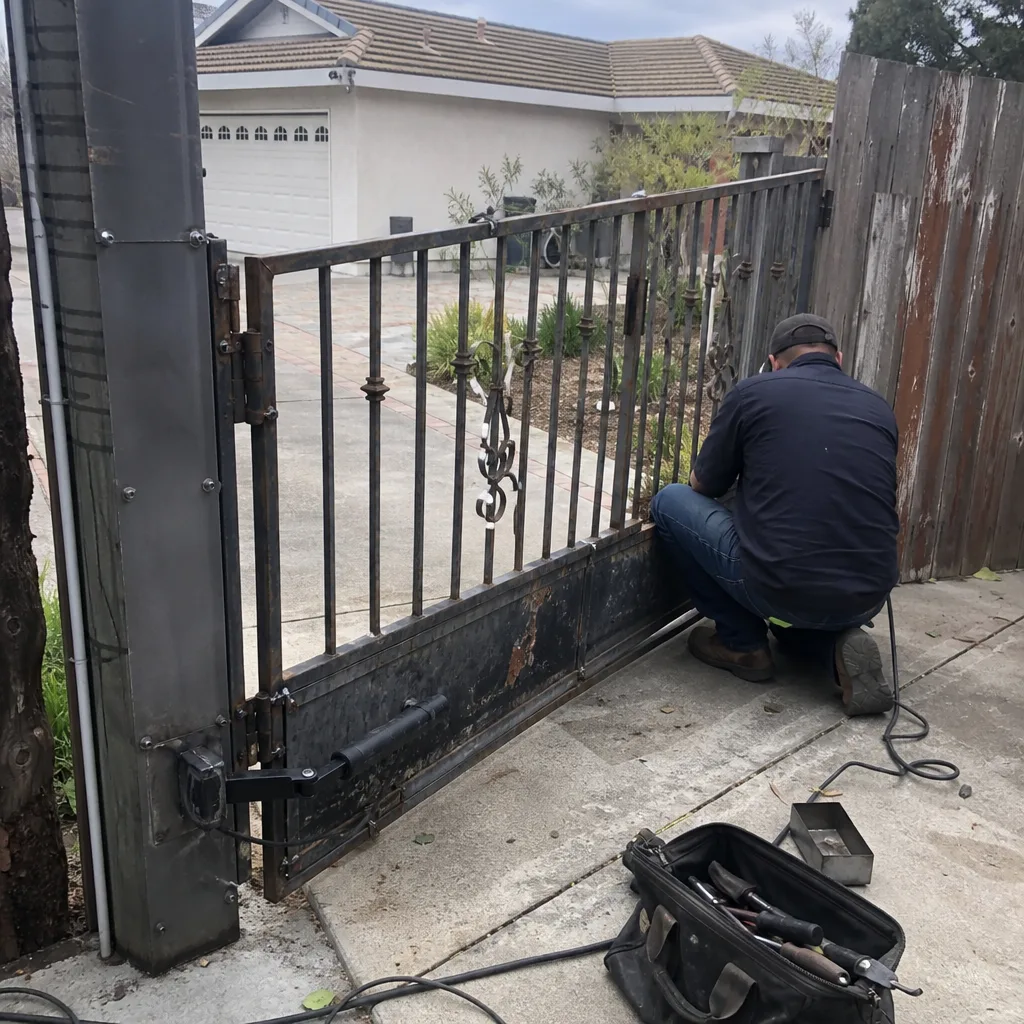 Before
 After
After Before
 After
AfterDIY vs Professional Gate Repair: The Fremont Homeowner’s Decision Guide
The most expensive DIY gate repair outcome isn’t a misinstalled part. It’s a correctly installed part that addressed the wrong cause. The gate appears fixed, the actual fault continues, and the next technician has to undo your work before they can start theirs. In Fremont, we’ve seen this pattern repeatedly: a homeowner replaces a LiftMaster control board when the real problem was a failing loop detector, or swaps a Mighty Mule battery when the charger circuit was the culprit. This guide draws the line at the diagnostic boundary, not the mechanical complexity boundary. You’ll learn which repairs are genuinely safe to attempt yourself, which ones create downstream costs, and how to document your work so it doesn’t become a mystery for the next person who opens the panel. For Gate Repair Maintenance Checklist for Fremont Homeowners, see our dedicated resource.
Quick Answer
DIY gate repair makes sense only when the problem and the solution are the same thing - swapping a dead battery, realigning a photo-eye, lubricating hinges. Once the repair requires identifying a root cause that isn’t visible, professional diagnosis saves money because it prevents correct parts installed for wrong reasons. In Fremont, most gate repairs we handle involve electrical diagnosis, safety-system verification, or code compliance that places liability on the technician rather than the homeowner.
Table of Contents
- The Diagnostic Boundary: Where DIY Ends and Professional Work Begins
- Gate Repairs You Can Safely Handle Yourself in Fremont
- DIY Repairs That Create Expensive Downstream Problems
- How to Document a DIY Repair So the Next Technician Benefits
- California Liability: When DIY Puts Responsibility on Your Insurance
- How Fremont’s Climate and Soil Affect Gate Repairs
- Cost Reality: DIY Savings vs Professional Pricing in Fremont
- Common Mistakes to Avoid
- When to Call a Professional
- Frequently Asked Questions
- The Bottom Line
 Before
 After
AfterThe Diagnostic Boundary: Where DIY Ends and Professional Work Begins
The wrong way to decide between DIY and professional repair is to ask, “Can I physically do this?” The right question is, “Does this task require a diagnosis, or just an execution?”
Here’s the distinction. Replacing a gate remote battery requires no diagnosis - the battery is dead, you swap it, the remote works. Tightening a loose hinge bolt requires no diagnosis - the bolt is visibly loose, you tighten it, the gate stops sagging. These are execution tasks. The problem and the solution are identical.
But when a gate opens halfway and reverses, the visible symptom (reversal) and the root cause are different things. It could be a misaligned photo-eye, a limit switch drifted out of position, a failing motor capacitor, a binding track, or an obstruction in the software logic. Installing a new photo-eye when the real problem is a limit switch doesn’t just waste money - it masks the fault. The gate may work briefly, then fail again, and now there’s a new variable in the system that confuses the actual diagnosis.
In our experience across 22,000+ gates since 2014, roughly 60% of residential gate repairs that initially look like parts replacements turn out to be adjustment or configuration issues. A homeowner in the Gate Repair in Fremont market who replaces a $280 FAAC control board for a $0 limit-switch adjustment has paid the most expensive price possible: parts cost plus the eventual professional call, plus the time spent on a misdirected repair.
The diagnostic boundary test is simple. Ask yourself: “Do I know exactly what’s wrong, or do I know only what’s happening?” If you know what’s happening (symptom) but not what’s wrong (cause), you’ve crossed into professional territory.
Three questions that expose the boundary:
- Can I name the specific failed component, or am I guessing based on internet forums?
- Will I know if my repair worked for the right reason, or just that it worked for now?
- If this doesn’t solve it, have I added complexity that makes the next diagnosis harder?
If any answer is no, the repair requires professional diagnosis. This isn’t about capability. It’s about information asymmetry - the technician has test equipment, wiring diagrams for nine automation brands, and the experience of seeing the same fault presented fifty different ways.
Gate Repairs You Can Safely Handle Yourself in Fremont
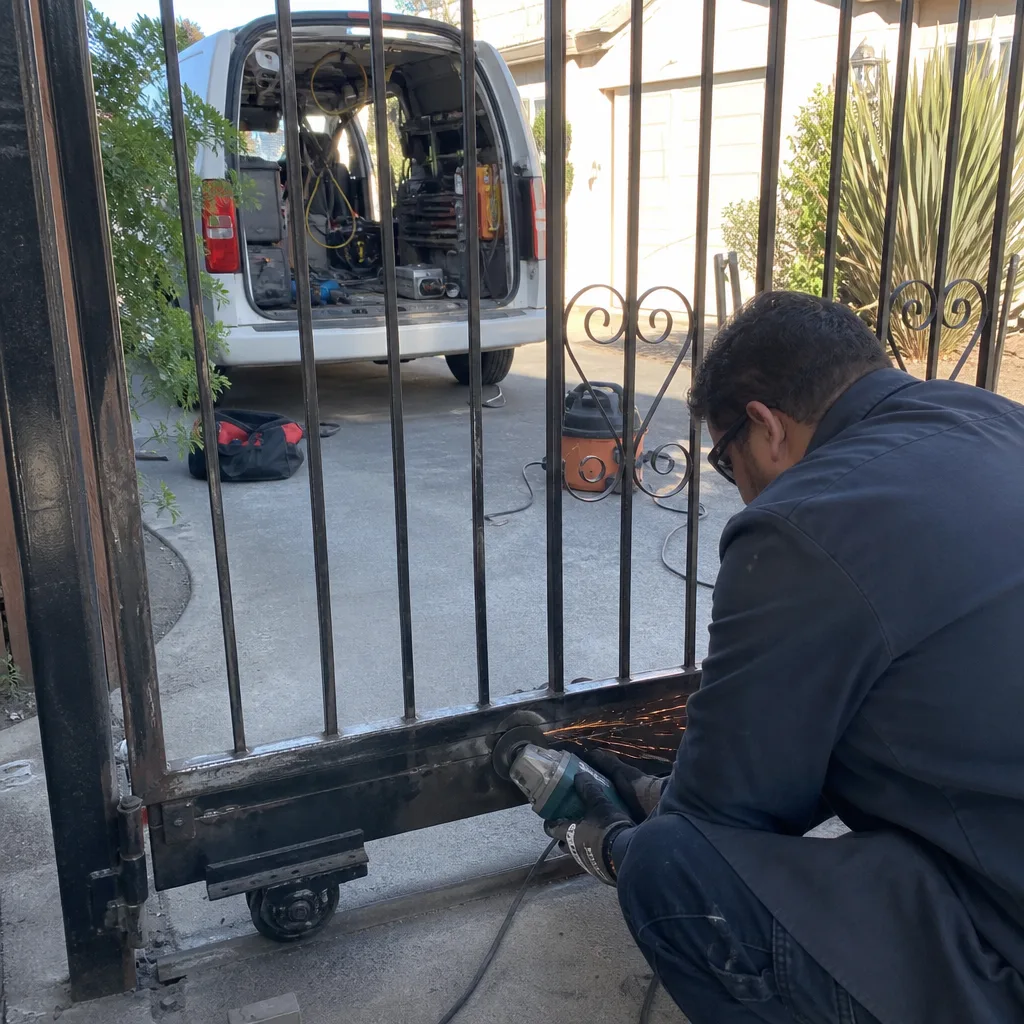
Certain gate maintenance and minor repairs are genuinely appropriate for a careful homeowner. These tasks share three characteristics: low voltage or no voltage, visible confirmation of success, and no safety-system implications if done imperfectly.
Battery Replacement in Solar or DC Operators
Most solar-powered gate operators and battery-backup systems use 12V deep-cycle batteries with a lifespan of 3-5 years in Fremont’s climate. Replacement is straightforward: power down the operator at the disconnect switch, note the cable polarity (photo this before disconnecting), swap the battery, reconnect. The confirmation is immediate - the operator powers up and responds to commands. Brands like Mighty Mule and some LiftMaster models use standardized battery trays that make this genuinely tool-free.
Photo-Eye Realignment
The photo-eye (infrared safety beam) consists of a transmitter and receiver mounted 4-6 inches above ground on opposite sides of the gate opening. When the beam is interrupted, the gate stops or reverses. Misalignment is common after landscaping work, vehicle contact, or ground settling in Fremont’s clay-heavy soils.
Realignment requires no tools on most systems. Clean both lenses with a dry cloth first - dust accumulation is the most common false trigger. Then adjust the transmitter until the receiver’s indicator LED shows solid green or red (varies by brand). Test by passing a cardboard box through the beam during a close cycle; the gate should reverse within 2 seconds. If it doesn’t, the alignment is still off or there’s an electrical fault beyond the beam itself.
Limit Switch Adjustment
Limit switches tell the operator when the gate has reached fully open or fully closed position. On mechanical-limit systems (common on older Elite and FAAC operators), small cams or screws set these endpoints. When a gate starts banging against the stop or stops 3 inches short of latching, the limit may have drifted.
Adjustment is usually a quarter-turn of a cam screw. The critical step: mark the original position before moving anything. A photo of the cam orientation gives you a return point if your adjustment makes things worse. Test in small increments - one click at a time - and cycle the gate fully between each change. Document the final setting.
Hinge and Track Lubrication
Fremont’s dry summers and occasional winter moisture create ideal conditions for hinge corrosion and track debris accumulation. Annual lubrication with a silicone-based spray (not WD-40, which attracts dust) prevents binding that stresses the operator motor. Work the gate manually after lubrication - it should move with consistent resistance, not catching or grinding.
Visual Inspection After Weather Events
The Diablo Winds that sweep through the Fremont area in fall and winter can deposit debris in tracks, stress hinge brackets, and shift gate posts in saturated soil. A post-storm visual inspection - looking for cracked welds, loose bolts, or track displacement - catches problems before they cascade into operator failure.
What these tasks have in common: if you perform them incorrectly, the consequence is immediately visible and easily reversible. There’s no hidden fault being masked, no safety system being bypassed, no electrical configuration being altered.
DIY Repairs That Create Expensive Downstream Problems
Some repairs that appear mechanical or simple actually sit at the intersection of electrical systems, safety compliance, and warranty coverage. Getting them wrong doesn’t just fail to fix the problem - it creates new problems that cost more to resolve than the original fault.
Control Board Replacement
Control boards for automated gates are not plug-and-play devices, despite their appearance. Each board arrives with default parameters that must be configured for gate weight, travel distance, motor current draw, and safety-device type. A homeowner who installs a replacement LiftMaster or Elite board without configuring these settings risks motor burnout (from excessive current), entrapment hazard (from inadequate obstacle detection), or immediate board failure (from mismatched voltage jumpers).
More critically, the default configuration may not match your specific safety devices. If your system uses edge sensors rather than photo-eyes, or both in combination, the board must be told which inputs to monitor. An unconfigured board may ignore a safety device entirely - a condition that violates California safety code and exposes the homeowner to liability if an injury occurs.
Wiring Repairs and Splice Work
Underground wiring to gate operators, loop detectors, and accessory devices carries 120V AC or low-voltage DC, but the distinction matters enormously for splice technique and burial depth. A homeowner splice that isn’t waterproofed to NEC standards fails within one Fremont rainy season, corrodes back into the conduit, and creates an intermittent fault that takes hours to locate. We’ve traced “mystery” failures to homeowner splices buried 4 inches deep in landscaping mulch, where the original trench should have been 18 inches with proper conduit.
Loop Detector Installation or Calibration
Vehicle detection loops - the wire embedded in the driveway that tells the gate a car is present - require specific inductance values, frequency tuning, and sensitivity settings. A replacement loop must match the detector’s frequency within 2%. A homeowner-installed loop with the wrong number of turns, the wrong wire gauge, or incorrect burial depth reads as a constant “vehicle present” or never detects at all. Worse, some detectors will self-calibrate to a faulty loop, then fail to detect actual vehicles because the baseline is wrong.
Post-Repair Safety Testing
California requires that automated gate operators meet UL 325 entrapment protection standards. After any repair that affects the operator’s force or safety systems, a qualified technician must verify that the gate reverses within 2 seconds of contact with a test object, and that photo-eyes or edge sensors function at all points in the travel arc. A homeowner who performs a mechanical repair and doesn’t retest safety systems has no way to confirm compliance - and bears liability if the gate injures someone.
Software or Firmware Updates
Modern operators from FAAC, BFT, and some LiftMaster lines receive firmware updates that change parameter ranges or safety logic. A homeowner who resets to “factory defaults” after a problem may load an older firmware revision with known bugs, or wipe custom settings that were configured for the specific installation. Recovery requires manufacturer software and a technician login that isn’t consumer-accessible.
The pattern across all these: the repair appears to succeed, then fails in a way that obscures the original cause. The next technician inherits a system with multiple variables changed by someone who didn’t document them. Diagnostic time increases. Parts get replaced unnecessarily. The homeowner pays for the DIY attempt plus the professional repair plus the undoing of the DIY work.
How to Document a DIY Repair So the Next Technician Benefits
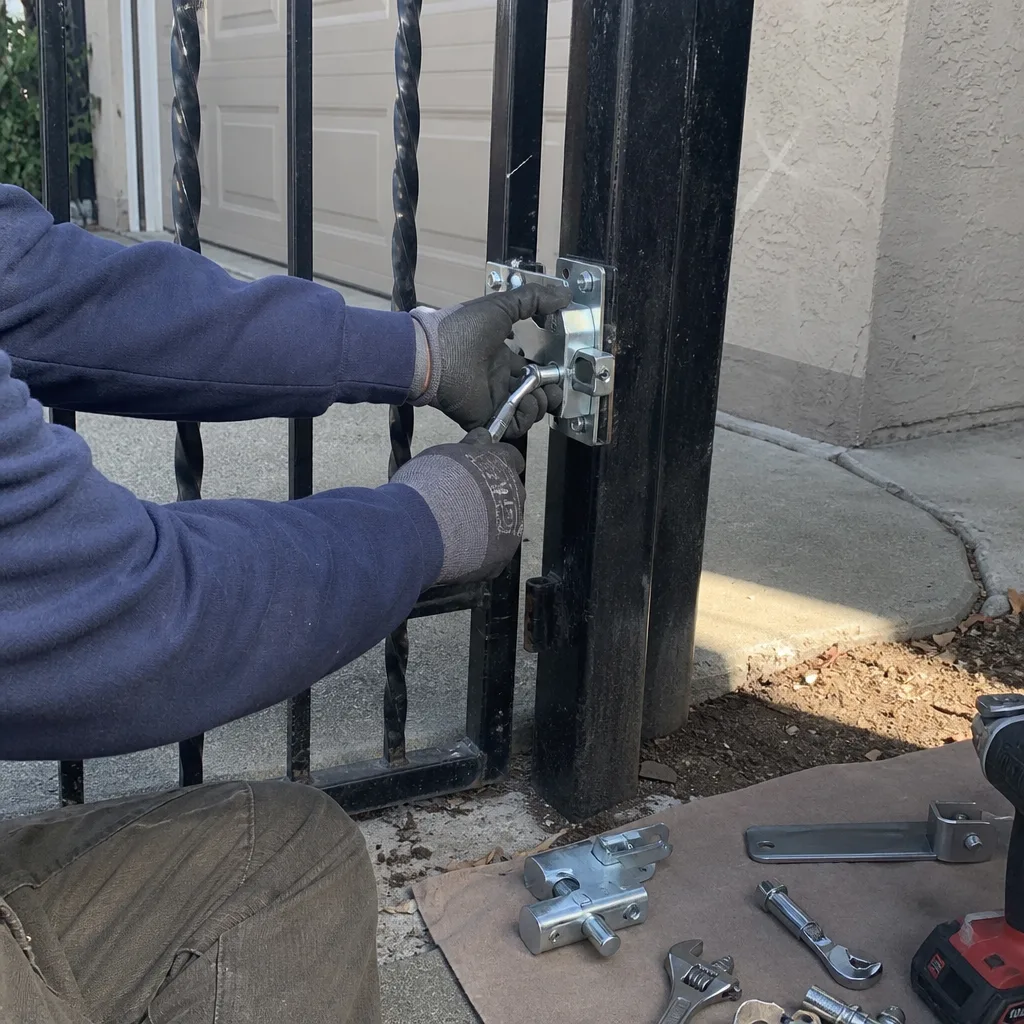
If you do perform a safe DIY repair, documentation is the difference between a helpful homeowner and a mystery creator. Under Vance Gate Repair Fremont home service standards, we document every visit with photos and written records because the next person to touch the gate - whether it’s us in six months or another technician in five years - deserves to know what was found and what was changed. You can apply the same principle to your own work.
Here’s what to record:
- Photograph everything before you touch it. The control board with wires in place. The limit switch cam at its current position. The photo-eye alignment indicator. These are your baselines.
- Note the part number and date of any replacement. Not “new battery” - “Mighty Mule 12V 7Ah FM150, installed [date].” Not “fixed wiring” - “replaced 18/2 low-voltage run to keypad, 25 feet, buried in existing conduit.”
- Record settings before and after. If you adjusted a limit switch, note the original screw position (clock face reference works: “cam set screw at 2 o’clock, moved to 3:30”). If you changed a dip switch, photo both configurations.
- Describe what prompted the repair. “Gate stopped 6 inches from closed, happened after heavy rain on [date].” This symptom history is often more valuable than the repair itself.
- Test and record the result. “After adjustment, gate closes fully and latches. Photo-eye test passed with cardboard box. 10 consecutive cycles without fault.”
- Store it with the operator manual or in a labeled folder. The documentation is useless if you can’t find it when needed.
When a professional technician arrives for a future problem, hand them this record. For more guides & resources on maintaining this documentation, visit our blog. It saves diagnostic time, prevents redundant parts replacement, and demonstrates that you approached the repair methodically. In our experience, documented DIY work reduces professional repair time by 30-50% because we’re not reverse-engineering unknown changes.
What we leave behind on every professional visit - and what you should emulate - is a record that answers the next technician’s questions before they ask them. Under Clause 4 (Evidence on every job), our technicians photograph every adjustment and provide a written record of part numbers installed. Your DIY documentation doesn’t need to match our standard exactly, but the principle is the same: the gate outlasts everyone who works on it, and the gate doesn’t remember.
California Liability: When DIY Puts Responsibility on Your Insurance
California law treats automated gate operators as machinery with inherent entrapment and crushing hazards. The responsibility for safe operation falls differently depending on who performed the last repair or modification.
When a licensed contractor performs gate repair, their license bond and general liability insurance cover injury claims related to the work performed. The contractor is responsible for compliance with UL 325, California Building Code Chapter 31B, and local amendments. If a child is injured by a gate that a contractor repaired, the claim runs through the contractor’s insurance and licensing board.
When a homeowner performs the same repair, that liability shield disappears. Your homeowner’s insurance may cover the claim, or it may deny coverage based on an exclusion for unlicensed work on motorized machinery. More critically, a plaintiff’s attorney will argue that the homeowner assumed the duty of care that a contractor would have provided - and failed to meet it. The absence of documentation (no written scope, no safety test record, no compliance verification) becomes evidence of negligence.
This isn’t theoretical. In 2019, a Bay Area homeowner was found partially liable for a gate injury after performing their own control board replacement without configuring the force settings. The gate closed with excessive force on a delivery driver. The homeowner’s insurer paid a reduced claim and non-renewed the policy.
The threshold question for liability isn’t whether the repair was done well. It’s whether the repairer was qualified to assess and verify safety compliance. A professional technician in Fremont carries tools specifically for UL 325 verification: force meters, timing devices, and test objects of standardized size and compressibility. A homeowner with a screwdriver and YouTube instructions has no equivalent capability.
This doesn’t mean all DIY is legally hazardous. Battery swaps, lubrication, and photo-eye cleaning don’t affect force or safety logic. But any repair that touches the operator’s control system, motor wiring, or safety-device configuration shifts liability onto the homeowner if injury occurs. The savings of a DIY control board replacement - maybe $150 in labor - are insignificant against the exposure of an injury claim.
How Fremont’s Climate and Soil Affect Gate Repairs
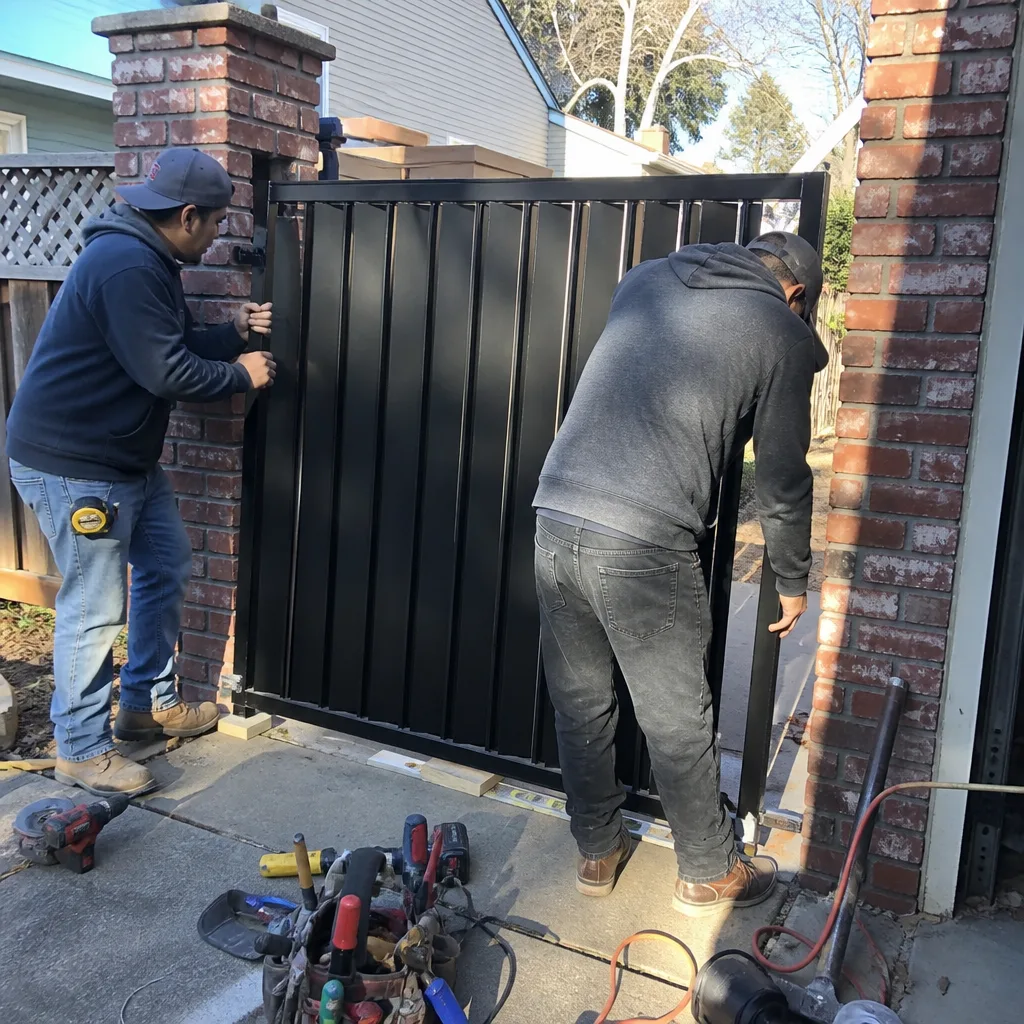
Fremont’s specific geography creates repair patterns that don’t apply uniformly across the Bay Area. Understanding these local conditions helps distinguish a genuine fault from an environmental effect - and helps homeowners avoid unnecessary repairs.
Clay-heavy soils and seasonal moisture. The Niles district and areas near Alameda Creek sit on expansive clay soils that swell when wet and shrink when dry. Gate posts set in these soils move fractionally with each season. A gate that latches perfectly in October may gap in March, or bind in August. Homeowners sometimes replace hinges or operators when the real need is post stabilization or seasonal adjustment. In the Mission San Jose area, we’ve seen 4-inch post displacement over a single wet winter create symptoms that looked like operator failure.
Salt air exposure. Properties near the Dumbarton Bridge or along the bayfront receive corrosive salt spray that accelerates hinge and track rust. A hinge that would last 15 years inland may fail in 8 years near the water. DIY lubrication is more critical in these microclimates, but so is material selection - stainless hardware that a homeowner installs as replacement may outlast the original galvanized components.
Temperature swings and electronics. Fremont’s inland valleys see summer highs above 100°F and winter lows near freezing. Control boards and batteries experience accelerated aging at temperature extremes. A battery that tests adequate in April may fail in July heat. This is where diagnostic skill matters: a homeowner who replaces a battery in spring without testing its cold-cranking performance may face the same dead gate in December.
Diablo Wind debris. The high-pressure wind events that funnel through the Altamont Pass deposit leaves, branches, and construction debris in gate tracks. A gate that reverses intermittently may have a physical obstruction rather than an electrical fault. Before calling for service or attempting electrical diagnosis, remove the track cover and inspect the full travel path. We’ve responded to “operator failures” that were simply a wedged piece of landscape edging.
These local factors mean that a repair approach copied from a national forum may misdiagnose the actual problem. A Phoenix homeowner’s advice about thermal expansion doesn’t apply to Fremont’s moisture-driven soil movement. A Seattle homeowner’s experience with constant rain corrosion differs from Fremont’s salt-air pattern.
Cost Reality: DIY Savings vs Professional Pricing in Fremont
The financial comparison isn’t simply “parts cost” versus “parts plus labor.” It’s parts cost plus your time plus the risk of misdiagnosis plus the potential cost of undoing DIY work. Our Gate Repair Cost Breakdown: The Fremont Homeowner’s Reference for 2026 details typical pricing.
Here are typical professional repair costs in the Fremont market for common gate issues. These are the prices we quote in writing before work begins, under Haven Standard Clause 1:
| Service | Typical Range | What’s Included |
|---|---|---|
| Photo-eye realignment and testing | $95 - $145 | Alignment, lens cleaning, UL 325 safety verification, documented test record |
| Limit switch adjustment | $85 - $125 | Travel measurement, adjustment, 10-cycle verification, photo documentation |
| Battery replacement (with testing) | $140 - $220 | Battery, load testing of charging circuit, terminal cleaning, disposal |
| Control board replacement and configuration | $380 - $650 | Board, parameter programming, safety-device integration, UL 325 compliance test |
| Loop detector diagnosis and repair | $195 - $340 | Inductance testing, loop integrity check, detector calibration, sensitivity verification |
| Full operator diagnostic (no repair) | $125 - $175 | Systematic electrical and mechanical evaluation, written findings, repair quote |
The DIY “savings” on a control board replacement might appear to be $200-$350 in labor. But if the board was replaced unnecessarily - if the actual fault was a $15 capacitor or a loose connection - the DIY approach cost $380 instead of $95. If the board was replaced correctly but not configured for the specific safety devices, the gate may operate while creating liability exposure that has no dollar value until it materializes.
For Gate Installation in Fremont and major motor replacement, the financial calculation shifts further. A swing-gate motor replacement runs $1,800-$3,400 depending on brand and whether the arm bracket is intact. The parts alone for a quality operator (LiftMaster, FAAC, or Elite) represent 60-70% of that total. The professional value is in proper mounting alignment, limit calibration for the specific gate weight and travel, and safety-system integration that passes inspection.
Our free second opinion applies here: bring us a written estimate from any other company and we’ll review it at no cost. We’ve found that competitor quotes in Fremont sometimes specify replacement when repair is viable, or omit necessary safety-testing that would be required for code compliance.
Common Mistakes to Avoid
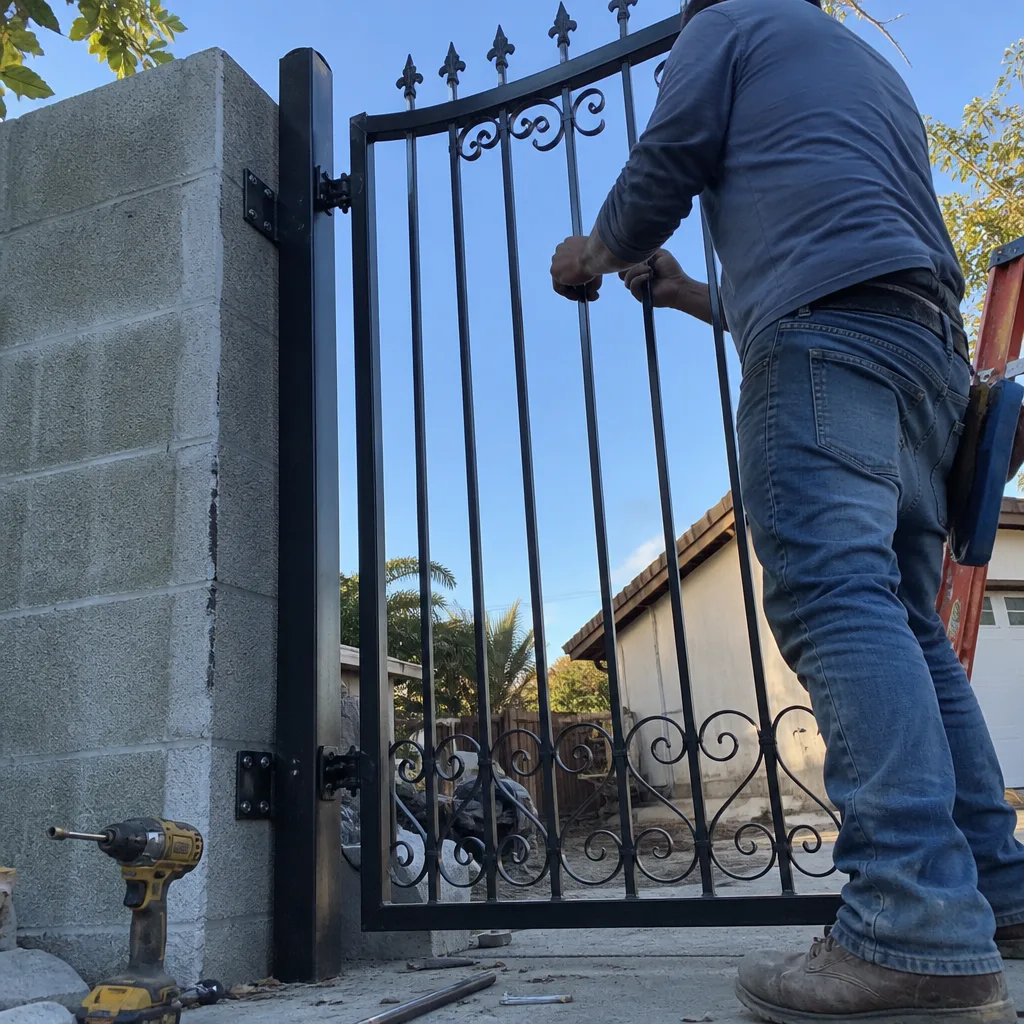
- Replacing parts without testing the old ones. A “failed” control board may have intact outputs but a blown fuse, a loose ribbon cable, or a power supply sag that makes it appear dead. Test before you toss - or have a technician test it.
- Ignoring the ground fault. In Fremont’s clay soils, ground moisture can create leakage paths that trip GFCI protection. A homeowner who bypasses the GFCI to “fix” an intermittent operator has solved the symptom and created a shock hazard.
- Mixing brands in the same system. A Mighty Mule remote won’t reliably trigger a LiftMaster receiver, and an Elite control board won’t recognize FAAC safety edges without adapter modules. Brand mixing creates compatibility layers that fail unpredictably.
- Adjusting force settings to compensate for mechanical binding. When a gate drags on the track, increasing the operator’s force setting appears to solve the problem. It actually overpowers the safety system, creating an entrapment hazard that won’t show up until someone gets hurt.
- Skipping the post-repair safety test. Every repair that touches the operator’s control system requires verification that safety devices still function at all points in the travel arc. The test takes 5 minutes and requires no tools - just a cardboard box and attention.
- Not documenting what you changed. The next technician - whether in six months or six years - needs to know what was altered. Undocumented changes turn a 30-minute diagnosis into a 2-hour mystery.
- Assuming Fremont’s climate is “mild” on gates. The salt air, clay soil expansion, and temperature swings here create specific failure modes that generic advice doesn’t address. Local experience matters in diagnosis.
When to Call a Professional
Call a technician when the repair requires any of the following: electrical diagnosis beyond visible connections, control board configuration or replacement, loop detector work, welding or structural repair, or any modification that affects safety-system function. Call when you don’t know the root cause, when the gate has injured anyone or anything, or when your homeowner’s insurance requires licensed work for coverage.
Vance Gate Repair Fremont offers free estimates in Fremont - call (510) 826-3980. A technician arrives with diagnostic equipment for nine automation brands, provides a written price before any work starts, and leaves a documented photo record of every finding and adjustment. The 365-Day Done Right Promise covers all completed work: if the repair is not right, we make it right at no additional charge, no argument, no expiration within that window.
Frequently Asked Questions
Most common repairs in Fremont range from $85 for a limit switch adjustment to $650 for control board replacement with full configuration and safety testing. We quote every price in writing before work begins - no estimate-by-phone, no surprise invoice. Call (510) 826-3980 for an exact quote; estimates are free.
You can safely handle battery replacement, photo-eye realignment, limit switch adjustment, and lubrication. Anything involving the control board, wiring diagnosis, loop detector, or safety-system configuration requires professional tools and creates liability exposure if done incorrectly. The boundary is diagnosis versus execution: if you know exactly what’s wrong, DIY may work. If you’re guessing, call a technician.
Homeowners can perform their own repairs, but California law places the duty of safety compliance on the last person who modified the system. A licensed contractor’s work is backed by bond and insurance; homeowner DIY shifts liability to your personal coverage, which may exclude unlicensed machinery work. Any repair affecting force settings or safety devices should be verified by a qualified technician.
Intermittent operation usually indicates an electrical fault that worsens with temperature, moisture, or vibration - a failing capacitor, corroded connection, or cracked solder joint. These conditions are difficult to diagnose without test equipment because they may not present during a static inspection. Professional diagnosis with live monitoring catches faults that appear only under load.
A complete motor replacement includes removal of the failed unit, mounting bracket inspection and repair, new operator installation, limit calibration for your specific gate weight and travel, safety-device integration and testing, and a documented photo record of all settings. For Gate Motor & Opener in Fremont, we service nine major brands and don’t steer toward replacement when repair is viable.
A properly completed repair includes: the gate operates smoothly through full travel, all safety devices function and reverse the gate within 2 seconds, you received written documentation of what was found and changed, and the technician provided a warranty in writing. Under the Haven Standard, we provide all of these on every visit, plus a 365-Day Done Right Promise.
The Bottom Line
DIY gate repair is the right choice when the problem and the solution are identical - a dead battery, a dirty photo-eye, a dry hinge. It’s the wrong choice when the visible symptom differs from the root cause, because a correct part installed for the wrong reason becomes expensive misdirection. The diagnostic boundary, not mechanical difficulty, is where professional work begins. In Fremont’s specific climate and soil conditions, local experience prevents misdiagnosis of environmental effects as equipment failure. Document whatever you do, know where liability falls, and get a written price before any professional work starts.
Written by Adrian Vance, Owner at Vance Gate Repair Fremont, serving Fremont since 2014.